
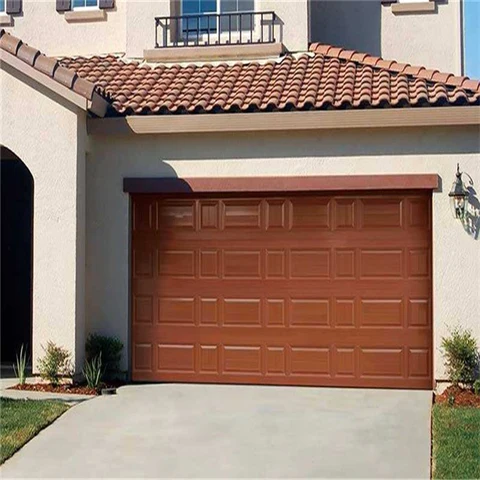
Garage Door Repair San Diego CA Over time, these brackets can become damaged or worn out, requiring replacement. Replacing a garage door bracket is a task that can be accomplished with the right tools and a methodical approach.
Below are step-by-step instructions on how to replace a garage door bracket:
1. Safety First Before starting any work, ensure your safety by wearing protective gear such as gloves and safety glasses. Additionally, disconnect the power to the garage door opener to prevent any accidental activation.
2. Gather Necessary Tools You’ll need the following tools to complete the replacement:
- Adjustable wrench
- Socket wrench set
- Stepladder
- Replacement garage door bracket
- Bolts and nuts (if not included with the bracket)
- Safety glasses
3. Identify the Damaged Bracket Inspect the garage door system to identify the damaged bracket. The brackets are typically located on both sides of the garage door tracks, near the bottom.
4. Prepare the Area Clear any obstructions around the area where you’ll be working. Place a stepladder underneath the bracket to provide easy access.
5. Support the Door Use locking pliers or clamps to secure the garage door in place. This will prevent it from moving while you replace the bracket.
6. Remove the Old Bracket Using an adjustable wrench or socket wrench, loosen and remove the bolts securing the damaged bracket to the garage door track. Keep the bolts and nuts in a safe place as you’ll need them later.
7. Detach the Bracket Once the bolts are removed, carefully detach the damaged bracket from the garage door track. Be mindful of any remaining hardware or debris in the area.
8. Install the New Bracket Position the new garage door bracket in place on the track, aligning it with the existing holes. If necessary, use a socket wrench to hold the bolts in place while tightening the nuts from the other side.
9. Secure the Bracket Tighten the bolts securely to ensure the new bracket is firmly attached to the garage door track. Double-check the alignment and stability of the bracket before proceeding.
10. Test the Door Release the locking pliers or clamps and manually operate the garage door to test its movement. Ensure the door opens and closes smoothly without any obstructions or unusual noises.
11. Adjustments If necessary, make any adjustments to the bracket to ensure proper alignment and operation of the garage door. This may include tightening or loosening bolts or adjusting the position of the bracket along the track.
12. Reconnect Power Once you’re satisfied with the replacement and the garage door operates smoothly, reconnect the power to the garage door opener.
13. Regular Maintenance To prevent future issues, perform regular maintenance on your garage door system, including lubricating moving parts and inspecting brackets for signs of wear or damage.
Safety Tips:
- Always wear safety glasses when working with garage door hardware to protect your eyes from debris.
- Use caution when working on a ladder and ensure it is stable before climbing.
- If you’re unsure about any aspect of the replacement process, consult the manufacturer’s instructions or seek professional assistance.
Conclusion:
Garage Door Repair San Diego CA can be completed with basic tools and careful attention to detail. By following these steps and prioritizing safety, you can ensure the smooth and reliable operation of your garage door for years to come.
Garage Door Experts
3921 Fourth Ave, San Diego, CA 92103, United States
1-619-828-3886
Leave a Reply