Local Businesses Blog in Texas

Category: garage door repair Page 1 of 9

How To Remove Dent From Metal Garage Door – Team Taylor Doors


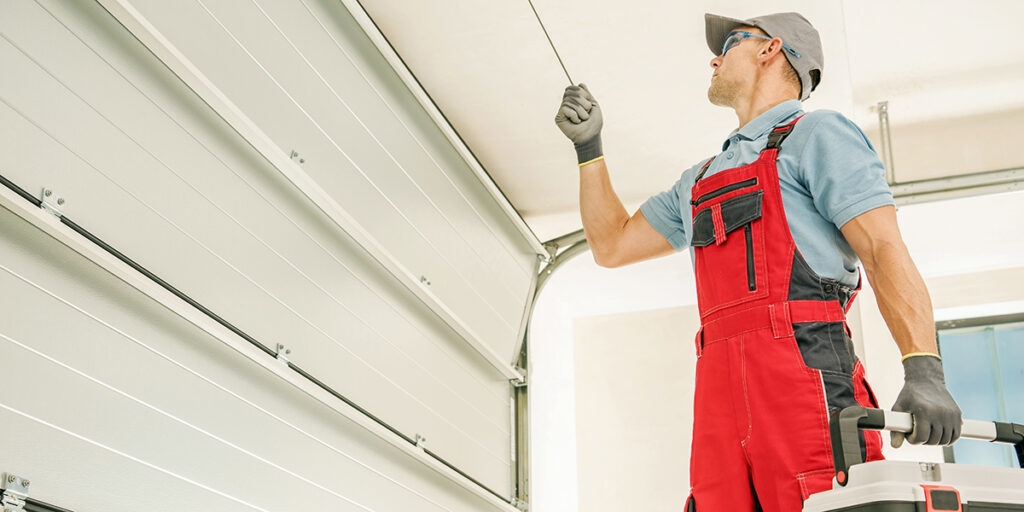
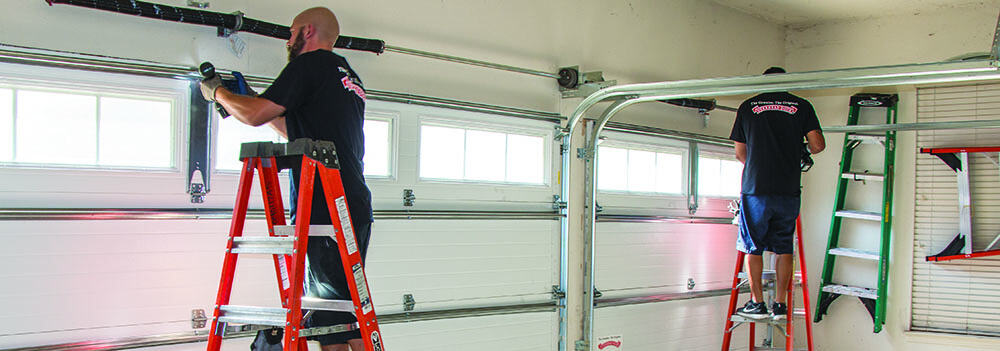
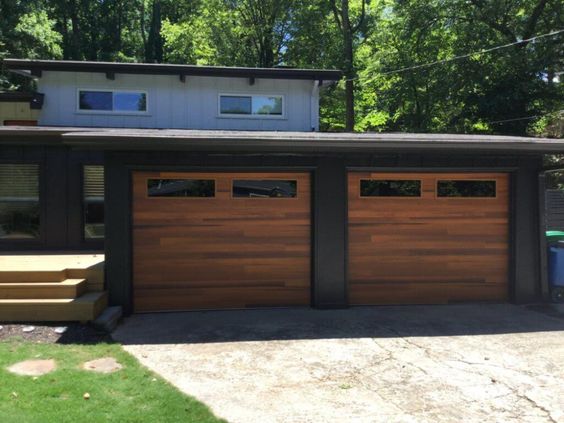
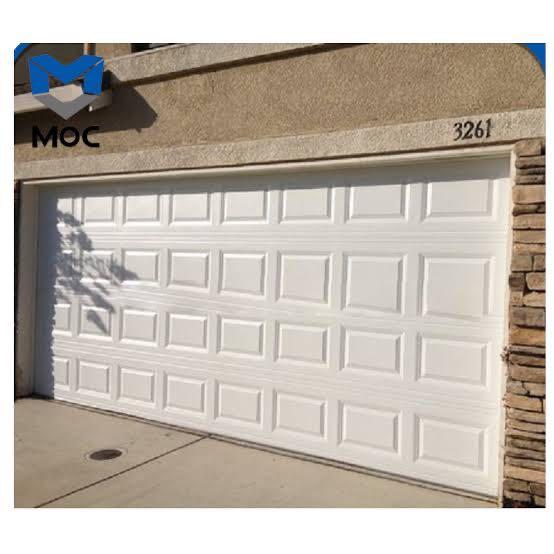
Garage Door Repair Missouri USA  Here’s a detailed guide on how to remove a dent from a metal garage door:

  1. Assess the Damage: Before you begin, carefully examine the dent to determine its size, depth, and location. Minor dents may be easier to repair, while larger or more severe dents may require professional assistance.
  2. Gather the Necessary Tools and Materials: You’ll need a few tools and materials to remove the dent effectively. These may include a rubber mallet or hammer, a wooden block, a heat gun or hairdryer, compressed air or a can of compressed air, aluminum foil, and a dent removal kit (optional).
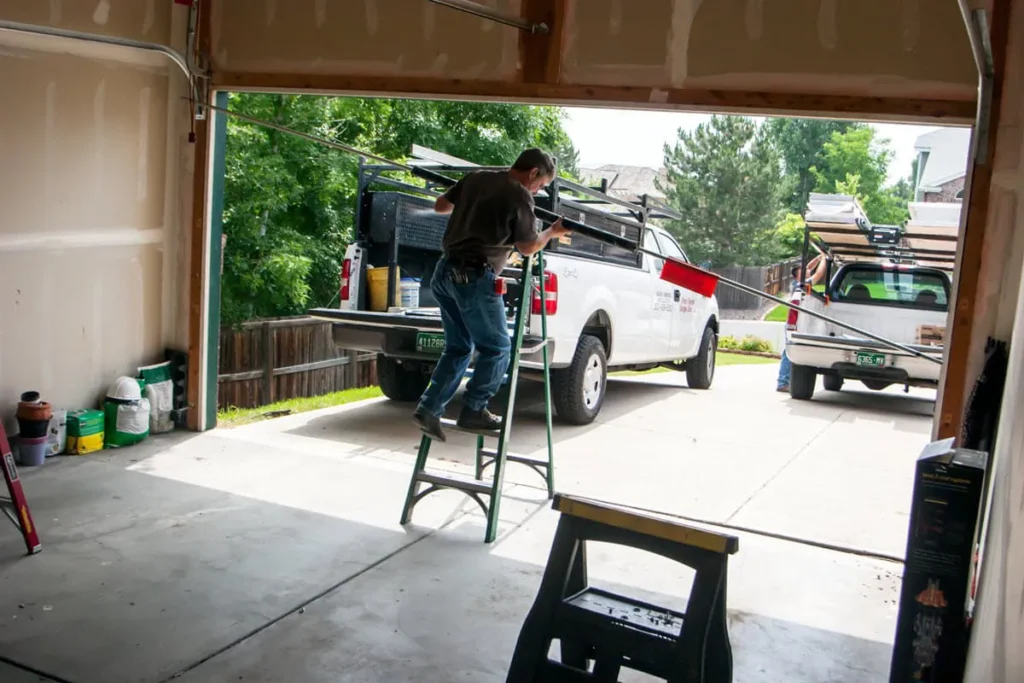
  3. Prepare the Area: Park any vehicles outside the garage and clear the area around the garage door to provide ample space to work. If necessary, cover nearby surfaces with protective materials to prevent damage.
  4. Apply Heat to the Dent: If the dent is shallow and the metal is not stretched or creased, applying heat can help to soften the metal and make it more pliable. Use a heat gun or hairdryer to heat the surface of the dent evenly, moving the heat source back and forth to avoid overheating.
  5. Cool the Metal: After heating the dent, immediately apply a can of compressed air or a can of compressed air turned upside down to cool the metal rapidly. This thermal shock can help to shrink the metal and reduce the size of the dent.
  6. Tap Out the Dent: Once the metal has cooled, use a rubber mallet or hammer and a wooden block to gently tap out the dent from the inside of the door. Place the wooden block against the backside of the dent to distribute the force evenly and prevent further damage to the metal.
  7. Work Gradually: Work gradually around the perimeter of the dent, tapping lightly with the mallet or hammer to gradually push the metal back into shape. Take your time and be patient, as it may take several passes to fully remove the dent.
  8. Check Your Progress: Periodically step back and inspect the dent from different angles to assess your progress. Continue tapping and shaping the metal until the dent is no longer visible or significantly reduced in size.
  9. Use a Dent Removal Kit (optional): If the dent is stubborn or difficult to remove using the above methods, you may consider using a dent removal kit. These kits typically include specialized tools such as suction cups or dent pullers designed to pull the metal back into shape.
  10. Finish with Aluminum Foil: For a final touch, place a piece of aluminum foil over the dent and run your hand over it to smooth out any remaining imperfections. This can help to blend the repaired area with the surrounding metal and improve the appearance of the door.
  11. Test the Door: After removing the dent, test the garage door to ensure that it operates smoothly and without any issues. Check for any signs of damage or interference with the door’s movement.
  12. Maintain the Door: To prevent future dents and maintain the appearance of your garage door, consider applying a protective coating or paint to the surface. Regular maintenance and inspection can also help to identify and address any issues before they escalate.

Garage Door Repair Missouri USA  However, if you’re unsure about tackling the repair yourself or if the dent is severe, it’s best to seek professional assistance to avoid causing further damage.

Team Taylor Doors

210 SW Market St Suite 144, Lee’s Summit, MO 64063, United States

1-816-408-6999

How To Insulate Roll Up Garage Doors – Martin Garage Door


Garage Door Repair Parker CO Proper insulation helps to keep the garage cooler in the summer and warmer in the winter, making it a more comfortable space for various activities.

Modern Automatic Garage Doors Installation Performed by Professional Caucasian Installer. Residential Automation.

Insulating a roll-up garage door is a relatively straightforward process that can be completed with the right materials and tools. Here’s a comprehensive guide on how to insulate roll-up garage doors:

1. Gather Materials and Tools: Before you begin, gather all the materials and tools you’ll need for the insulation project. This typically includes insulation material (such as foam board, reflective foil, or fiberglass), adhesive or tape, a utility knife or scissors, a tape measure, a straightedge or ruler, a pencil or marker, gloves, safety goggles, and a dust mask.

2. Measure the Garage Door Panels: Start by measuring the width and height of each garage door panel to determine the amount of insulation material you’ll need. Use a tape measure to measure the dimensions of each panel, and write down the measurements for reference.

3. Choose the Insulation Material: Select the appropriate insulation material based on your budget, climate, and insulation needs. Common options for insulating roll-up garage doors include rigid foam board insulation, reflective foil insulation, and fiberglass insulation. Consider factors such as R-value (thermal resistance), moisture resistance, and ease of installation when choosing the insulation material.

4. Prepare the Garage Door Panels: Clean the surface of each garage door panel to remove any dirt, dust, or debris that could prevent the insulation material from adhering properly. Use a damp cloth or sponge to wipe down the panels, and allow them to dry completely before proceeding.

5. Cut the Insulation Material: Using a utility knife or scissors, carefully cut the insulation material to the measured dimensions of each garage door panel. Use a straightedge or ruler to ensure straight and precise cuts, and mark the dimensions with a pencil or marker before cutting.

6. Apply Adhesive or Tape (If Necessary): Depending on the type of insulation material you’re using, you may need to apply adhesive or tape to attach the insulation to the garage door panels. Follow the manufacturer’s instructions for the specific adhesive or tape you’re using, and apply it evenly along the edges and corners of each panel.

7. Install the Insulation Material: Carefully place the cut pieces of insulation material onto each garage door panel, pressing them firmly against the surface to ensure good adhesion. Start at one corner of the panel and work your way across, smoothing out any wrinkles or air bubbles as you go.

8. Secure the Insulation Material (If Necessary): If the insulation material does not adhere securely to the garage door panels on its own, use additional adhesive, tape, or fasteners to secure it in place. Follow the manufacturer’s instructions for the specific type of fasteners or securing method recommended for your insulation material.

9. Seal the Edges and Gaps: Inspect the edges and corners of each garage door panel to ensure that the insulation material is properly sealed and there are no gaps or openings where air could leak through. Use additional adhesive, tape, or caulk to seal any gaps or seams and create a tight seal.

10. Test the Garage Door Operation: Once the insulation material is installed, test the operation of the garage door to ensure that it opens and closes smoothly without any interference from the insulation. If necessary, trim any excess insulation material or make adjustments to ensure proper clearance and operation of the door.

11. Monitor and Maintain: Regularly inspect the insulation material for signs of wear, damage, or deterioration, and make any necessary repairs or replacements to maintain its effectiveness. Additionally, keep the garage door well-maintained by lubricating moving parts, checking for signs of wear or damage, and performing any necessary repairs or adjustments.

Garage Door Repair Parker CO By following these steps and taking the necessary precautions, you can insulate your garage door easily and enjoy the benefits of a more comfortable and functional garage space. If you encounter any issues or need assistance during the insulation process, consult the manufacturer’s instructions or contact a professional for help.

Martin Garage Door

10411 S Parker Rd, Parker, CO 80134

1-303-663-1310

How To Fix Garage Door That Won’t Open – Camco Commercial Door Company


Garage Door Repair Heiskell TN  However, there are several potential causes for this issue, and troubleshooting the problem can often lead to a solution.

Here’s a detailed guide on how to fix a garage door that won’t open:

1. Check the Power Source: The first step in troubleshooting a garage door that won’t open is to ensure that it’s receiving power. Check the power source to the garage door opener and make sure it’s plugged in securely. If the opener is hardwired, check the circuit breaker or fuse box to ensure the breaker hasn’t tripped or the fuse hasn’t blown. If necessary, reset the breaker or replace the fuse.

2. Test the Remote Control: If the opener is receiving power but the door still won’t open, test the remote control to see if it’s functioning properly. Replace the batteries in the remote control and try operating the door again. If the remote control still doesn’t work, try using the wall-mounted control panel or the manual release mechanism to operate the door.

3. Inspect the Safety Sensors: Garage doors are equipped with safety sensors that prevent them from closing if there’s an obstruction in the door’s path. Check the alignment of the sensors located near the bottom of the door tracks on either side. Ensure that the sensors are facing each other and that their indicator lights are illuminated. Clean any dirt or debris from the sensor lenses and adjust their alignment if necessary. If the sensors are misaligned or obstructed, the door may not open properly.

4. Check for Obstructions: Inspect the area around the garage door for any obstructions that may be preventing it from opening. Look for objects such as cars, bikes, tools, or debris that may be blocking the door’s path. Move any obstructions out of the way and try operating the door again. If the door still won’t open, check the tracks for any obstructions or debris that may be preventing the rollers from moving freely.

5. Lubricate Moving Parts: Over time, the moving parts of a garage door can become stiff or corroded, leading to difficulty in opening. Lubricate the tracks, rollers, hinges, and springs with a silicone-based lubricant to ensure smooth operation. Be sure to wipe away any excess lubricant to prevent buildup and attract dirt and debris. Operate the door manually a few times to distribute the lubricant evenly and test if it opens more smoothly.

6. Check the Door Springs: Garage doors are equipped with springs that counterbalance the weight of the door and help it open and close smoothly. If the door springs are broken or damaged, the door may not open properly. Inspect the springs for signs of wear, rust, or damage, and replace them if necessary. Garage door springs can be dangerous to work with, so it’s best to leave spring replacement to a professional garage door technician.

7. Adjust the Limit Settings: Garage door openers are equipped with limit settings that control how far the door opens and closes. If the limit settings are improperly set, the door may not open or close all the way. Consult the owner’s manual for your garage door opener to learn how to adjust the limit settings properly. Follow the manufacturer’s instructions carefully to ensure the door opens and closes to the correct positions.

8. Inspect the Door Tracks: The tracks that guide the garage door rollers can become misaligned or damaged over time, preventing the door from opening smoothly. Inspect the tracks for any signs of bending, warping, or obstruction. Use a level to check the alignment of the tracks and adjust them as needed to ensure they are straight and parallel. Tighten any loose bolts or screws holding the tracks in place.

9. Test the Door Balance: A garage door that is out of balance can put extra strain on the opener motor and cause it to malfunction. Test the balance of the door by disconnecting the opener and manually lifting the door halfway open. If the door stays in place when released, it’s properly balanced. If it falls or rises, it may be out of balance and require adjustment. Adjust the tension on the springs or seek professional assistance to correct the balance.

10. Consult a Professional: If you’ve tried all of the above steps and the garage door still won’t open, it may be time to consult a professional garage door technician. A qualified technician can diagnose the problem and recommend the appropriate repairs or replacements needed to get your garage door back in working order. They have the knowledge, tools, and experience to handle a wide range of garage door issues safely and effectively.

Garage Door Repair Heiskell TN  By following these steps and taking the necessary precautions, you can often resolve the issue and restore the functionality of your garage door. If you’re unsure about how to fix the problem or if it requires professional assistance, don’t hesitate to seek help from a qualified garage door technician.

Camco Commercial Door Company

853 East Wolf Valley Rd. Heiskell, TN 37754

1-865-776-9455

How To Convert 2 Garage Doors Into One – BH Garage Doors and Gates


Garage Door Repair Rockwall TX Whether you’re looking to increase the size of your garage opening for easier access or to accommodate larger vehicles, this process involves structural changes to your garage.

Here’s a comprehensive guide on how to convert two garage doors into one:

1. Assess Feasibility: Before starting the conversion process, assess whether it’s feasible to merge the two garage openings into one. Consider factors such as structural support, space availability, and any potential obstacles like plumbing or electrical fixtures inside the garage.

2. Obtain Permits: Check with your local building authority to determine if permits are required for this type of renovation. Permits may be necessary to ensure compliance with building codes and regulations.

3. Plan the Design: Decide on the desired size and style of the new single garage door. Take accurate measurements of the existing openings and consider factors such as clearance requirements for vehicles, aesthetics, and functionality.

4. Hire a Professional: Converting two garage doors into one is a complex project that may require the expertise of a professional contractor. Consider hiring a qualified contractor who specializes in garage door installations and renovations to ensure the job is done safely and accurately.

5. Remove Existing Doors: Start by removing the existing garage doors and their associated hardware, including tracks, springs, and openers. Exercise caution during this step to avoid damaging the surrounding walls and structures.

6. Modify Opening: If necessary, modify the garage opening to accommodate the new single garage door. This may involve removing or relocating any existing support columns, headers, or framing members that obstruct the desired opening size.

7. Install Support Structure: Ensure that the opening is properly supported to bear the weight of the new garage door. Install any necessary reinforcement, such as additional framing, headers, or support beams, to maintain structural integrity.

8. Frame the Opening: Frame the new garage opening according to the specifications of the chosen garage door. Use high-quality lumber and construction techniques to ensure a sturdy and secure frame that can withstand the stresses of daily use.

9. Install New Garage Door: Once the opening is framed and supported, install the new single garage door according to the manufacturer’s instructions. Make sure to properly align and secure the door tracks, springs, rollers, and other hardware for smooth and reliable operation.

10. Test Operation: Test the operation of the new garage door to ensure that it opens and closes smoothly without any issues. Make any necessary adjustments to the tracks, springs, or opener settings to optimize performance.

11. Finish and Seal: Finish the surrounding walls and trim as needed to blend the new garage door seamlessly into the existing architecture. Seal any gaps or seams around the door to prevent air and moisture infiltration.

12. Optional: Upgrade Features: Consider upgrading your new garage door with additional features such as insulation, windows, decorative hardware, or smart technology for enhanced functionality and curb appeal.

13. Safety Considerations: Ensure that the new garage door meets all safety standards and regulations, including proper installation of safety sensors and auto-reverse mechanisms to prevent accidents and injuries.

14. Clean Up and Dispose: Dispose of any debris or waste materials generated during the conversion process responsibly. Clean up the work area and surrounding areas to restore order and functionality to your garage space.

15. Final Inspection: Schedule a final inspection with your local building authority to ensure that the converted garage door meets all applicable building codes and regulations.

Garage Door Repair Rockwall TX creating a larger and more functional garage space tailored to your specific needs and preferences.

BH Garage Doors and Gates

4035 N Goliad St, Rockwall, TX 75087, United States

1-214-206-5231

What should I consider when replacing my garage door – Anderson Gates & Garage Doors

Replacing your Garage Door Repair Anderson IN may not be the most glamorous home improvement project, but it can significantly enhance the curb appeal, security, and functionality of your home. Whether you’re doing it for aesthetic reasons, to improve energy efficiency, or because your current door is damaged or outdated, there are several crucial factors to consider before making your purchase.

In this guide, we’ll explore the key aspects you should take into account when replacing your garage door.

1. Budget

Like any home improvement project, your budget is a fundamental consideration. Garage doors come in a wide range of materials, styles, and price points. Setting a budget beforehand will help you narrow down your options and ensure that you find a door that meets both your needs and financial constraints.

2. Material

Garage doors are available in various materials, each with its own advantages and disadvantages:

a. Steel:

Steel doors are popular due to their durability and low maintenance requirements. They can be insulated to improve energy efficiency and come in various designs.

b. Wood:

Wooden garage doors have a timeless, classic look but require more maintenance to protect against weathering and potential rot. They can be expensive but add a unique charm to your home.

c. Aluminum:

Aluminum doors are lightweight and resistant to rust. They are a good choice for coastal areas or regions with high humidity.

d. Vinyl:

Vinyl doors are low-maintenance, durable, and resistant to dents and rust. They come in various colors and styles.

e. Fiberglass:

Fiberglass doors mimic the look of wood but are more resistant to environmental factors. They are lightweight and low-maintenance.

The material you choose will affect the appearance, longevity, and maintenance requirements of your garage door.

3. Style and Design

Your garage door should complement your home’s architecture and enhance its curb appeal. Consider the overall style of your house and choose a garage door design that harmonizes with it. Garage door styles include traditional, carriage house, contemporary, and more. Pay attention to details such as panel design, color, and decorative hardware to achieve the desired aesthetic.

4. Insulation

Insulated garage doors can help regulate the temperature in your garage and adjacent rooms, making them more comfortable and energy-efficient. If you use your garage as a workspace, gym, or storage area, insulation becomes even more important. Insulation options range from basic polystyrene panels to more advanced polyurethane foam insulation for superior thermal efficiency.

5. Security

A secure garage door is essential for the safety of your home. Look for doors with strong locks and advanced security features, such as rolling code technology for garage door openers. Reinforced steel doors offer better security than some other materials.

6. Garage Door Opener Compatibility

If you’re replacing both the garage door and the opener, ensure they are compatible. Newer garage door openers come with advanced features like smartphone control and battery backup. Make sure your new door can accommodate these technologies.

7. Maintenance Requirements

Consider how much time and effort you’re willing to invest in maintaining your garage door. Wooden doors require periodic staining or painting, while steel or vinyl doors typically require less maintenance. Understanding the upkeep required for your chosen material will help you plan for the long term.

8. Climate Considerations

Your local climate should influence your choice of garage door. For example, if you live in an area with extreme heat, a door with reflective panels may help keep your garage cooler. In cold climates, a well-insulated door can prevent heat loss.

9. Warranty

A reliable warranty is a sign of a quality garage door. Be sure to read and understand the terms of the warranty before making a purchase. It’s essential to know what is covered and for how long, as well as any conditions that might void the warranty.

10. Professional Installation

Garage door installation can be complex and potentially dangerous. Hiring a professional installer ensures that the door is properly fitted and operates safely. Look for a reputable company with experience in garage door installations.

11. Permits and Regulations

Check with your local authorities to see if you need permits for your garage door replacement. Some areas have regulations regarding the size, style, and placement of garage doors.

12. Accessibility and Convenience

Consider features that enhance convenience, such as keyless entry systems, remote controls, and smartphone apps for operating your garage door. These can make your daily life more comfortable.

13. Future Resale Value

Investing in a high-quality garage door can improve your home’s resale value. Potential buyers often appreciate the added security, energy efficiency, and curb appeal that a new garage door provides.

14. Aesthetics

Your garage door is a significant part of your home’s exterior. Its appearance can greatly affect your home’s overall curb appeal. Ensure that the style, color, and design of the garage door align with your home’s aesthetics.

15. Longevity

Consider the expected lifespan of the garage door material you choose. While steel and vinyl doors are known for their durability, wooden doors may require more frequent replacement or maintenance.

In conclusion, replacing your Garage Door Repair Anderson IN is a substantial investment that can have a considerable impact on your home’s functionality, appearance, and value. By carefully considering factors such as budget, material, style, insulation, security, and maintenance, you can make an informed decision that best suits your needs and preferences. It’s advisable to consult with a professional garage door installer for expert guidance and a seamless installation process. Ultimately, a well-chosen garage door will enhance both the functionality and aesthetics of your home for years to come.

Anderson Gates & Garage Doors

2007 McKinley St, Anderson, IN 46016, United States

1-463-217-0904

What is the Standard Size of Garage Door Opener? – Denzel Garage Door of Fort Lauderdale

Garage door openers are an essential component of any modern garage, and they come in different sizes to accommodate different types of garage doors. The standard size of a garage door opener depends on a few factors, such as the horsepower of the motor, the size of the garage door, and the type of drive system.

Based from Garage Door Fort Lauderdale FL, the horsepower of the motor is one of the most significant factors in determining the size of the garage door opener. The horsepower rating measures the amount of power that the motor can generate, and it ranges from 1/2 horsepower to 1 1/2 horsepower. The standard size of a garage door opener typically falls between 1/2 and 1 1/2 horsepower.

The size of the garage door is another factor that determines the size of the garage door opener. Garage doors come in different sizes, and the opener needs to be able to lift and lower the door without straining or breaking. The most common sizes for residential garage doors are 8 feet wide by 7 feet tall, 9 feet wide by 7 feet tall, and 10 feet wide by 7 feet tall. The size of the garage door opener will depend on the size of the garage door.

The type of drive system also plays a role in determining the size of the garage door opener. There are three types of drive systems: chain drive, belt drive, and screw drive. Chain drive openers are the most common and typically require the most horsepower. Belt drive openers are quieter than chain drive openers and require less horsepower. Screw drive openers are the quietest of the three and require the least amount of horsepower.

The weight of the garage door is another factor that determines the size of the garage door opener. The heavier the garage door, the more horsepower the opener will need to lift and lower it safely and efficiently. A 1/2 horsepower opener can lift a door that weighs up to 300 pounds, while a 1 1/2 horsepower opener can lift a door that weighs up to 750 pounds.

In summary, as stated in Garage Door Fort Lauderdale FL, the standard size of a garage door opener depends on several factors, including the horsepower of the motor, the size of the garage door, the type of drive system, and the weight of the door. The most common size of a garage door opener is between 1/2 and 1 1/2 horsepower, but this can vary depending on the factors mentioned above. It is essential to choose the right size garage door opener for your garage door to ensure that it operates safely and effectively.

Denzel Garage Door of Fort Lauderdale

1782 NW 38th Ave, Fort Lauderdale, FL 33311, United States

954-287-2263

How to Program Your Mercedes Garage Door Opener – Temple Garage Doors & Gate

Programming your Mercedes garage door opener can be a simple and straightforward process. It is important to note that the specific instructions for programming your garage door opener may vary depending on the make and model of your Mercedes and the type of garage door opener you have.

Here are some general steps from Garage Door Temple TX to help you program your Mercedes garage door opener:

  1. Determine the type of garage door opener you have: The first step in programming your garage door opener is to determine the type of opener you have. There are three main types of garage door openers: chain drive, belt drive, and screw drive. Each type of opener may have a different programming method, so be sure to consult your owner’s manual or contact the manufacturer for specific instructions.
  2. Locate the “Learn” button: Next, locate the “Learn” button on your garage door opener. This button is typically located on the back of the motor unit or on the wall control panel. Press and hold the “Learn” button until the indicator light begins to blink. This will put your opener in programming mode.
  3. Program your Mercedes garage door opener: Now it’s time to program your Mercedes garage door opener. To do this, locate the “Program” button on your Mercedes. This button may be located on the dashboard, near the sunroof controls, or on the rearview mirror. Press and hold the “Program” button until the indicator light begins to blink.
  4. Sync the garage door opener and Mercedes: With both the garage door opener and Mercedes in programming mode, it’s time to sync the two devices. Press and hold the button on your garage door remote that you want to program. Once the indicator light on the garage door opener starts blinking, release the button on the remote. Then, press the button on your Mercedes that you programmed in step 3. This should sync the two devices.
  5. Test the garage door opener: Finally, test the garage door opener to ensure that it has been properly programmed. Press the button on your Mercedes that you programmed in step 3. The garage door should open or close, depending on which button you programmed.

In summary, as stated in Garage Door Temple TX, if you encounter any issues during the programming process, consult your owner’s manual or contact the manufacturer for assistance. Remember to always follow the manufacturer’s instructions carefully to ensure the safety of your vehicle and garage door opener.

Temple Garage Doors & Gate

Temple, TX

254-221-8805

How to Install Garage Door Keypad – Fort Lauderdale Garage & Overhead Doors

Installing a Garage Door Repair Fort Lauderdale FL keypad is a fairly simple task that can be completed in a few steps.

In this guide, we will go through the steps required to install a garage door keypad:

Step 1: Choose a Location

The first step in installing a garage door keypad is to choose a location where you want to install it. Ideally, you want to install it in a location that is easily accessible and visible from the outside of your garage. Typically, garage door keypads are installed on the wall next to the garage door.

Step 2: Check Compatibility

Before purchasing a garage door keypad, you should ensure that it is compatible with your garage door opener. You can check the compatibility by referring to the user manual of your garage door opener or contacting the manufacturer.

Step 3: Gather the Tools

To install a garage door keypad, you will need a few tools, including a screwdriver, a drill, a level, and screws.

Step 4: Remove the Cover of the Garage Door Opener

To install the garage door keypad, you need to access the wiring of the garage door opener. To do this, you will need to remove the cover of the garage door opener. The cover is usually held in place by screws.

Step 5: Connect the Wires

Once you have access to the wiring of the garage door opener, you need to connect the wires of the garage door keypad to the wiring of the garage door opener. Typically, the garage door keypad will have two wires that need to be connected to the garage door opener.

Step 6: Mount the Garage Door Keypad

Once the wires are connected, you need to mount the garage door keypad on the wall. Use a level to ensure that the garage door keypad is mounted straight.

Step 7: Test the Garage Door Keypad

Once the garage door keypad is installed, you should test it to ensure that it is working properly. To test the garage door keypad, enter the code on the keypad and press the enter button. The garage door should open or close depending on the command given.

Step 8: Secure the Garage Door Keypad

After testing, secure the garage door keypad in place by screwing it to the wall. Ensure that the keypad is firmly mounted to prevent it from falling off.

In conclusion, installing a Garage Door Repair Fort Lauderdale FL keypad is a straightforward task that can be completed in a few steps. By following these steps, you can easily install a garage door keypad and enhance the security of your garage.

Fort Lauderdale Garage & Overhead Doors

701 E Las Olas Blvd, Fort Lauderdale, FL 33301, United States

1-954-466-8785

How to Wire Your Garage Door Opener – Garage Door Experts of Midlothian

Wiring a garage door opener can be a challenging task, especially if you have never done it before. However, with the right tools and guidance, you can complete the job safely and efficiently.

Here are the steps you can follow to wire a garage door opener based from Garage Door Midlothian TX:

Step 1: Gather the necessary tools

Before you begin wiring your garage door opener, you will need to gather the necessary tools, which include:

  • A screwdriver
  • Wire cutters/strippers
  • A power drill
  • Screws and anchors
  • Electrical tape
  • A ladder
  • A level

Make sure you have all the required tools before you begin wiring.

Step 2: Turn off the power

Before working on the wiring, it’s important to turn off the power supply to your garage. You can do this by locating the circuit breaker for your garage and turning it off. This step will ensure that you don’t get electrocuted while working on the wiring.

Step 3: Assemble the garage door opener

Follow the manufacturer’s instructions to assemble the garage door opener. This usually involves installing the rail and motor assembly, and attaching it to the ceiling of the garage.

Step 4: Install the safety sensors

Most garage door openers come with safety sensors that prevent the door from closing if something is in the way. These sensors need to be installed and wired correctly for the opener to work properly.

Attach the sensors to the door tracks on either side of the door, using screws and anchors. Then, run the wires from the sensors to the opener unit. The wires should be connected to the designated terminals on the opener unit according to the manufacturer’s instructions.

Step 5: Connect the power supply

Connect the power supply wires to the opener unit. These wires should be connected to the terminals marked “power” or “AC” on the unit. Make sure to follow the manufacturer’s instructions when connecting the wires.

Step 6: Connect the control wires

Connect the control wires to the opener unit. These wires should be connected to the terminals marked “wall control” or “push button” on the unit. The wires from the control button on the wall should also be connected to these terminals.

Step 7: Connect the opener to the door

Attach the opener arm to the door, following the manufacturer’s instructions. The arm should be attached to the door using screws and anchors. Once the arm is attached, connect it to the opener unit.

Step 8: Test the opener

Once you’ve wired the garage door opener, it’s important to test it to make sure it’s working correctly. To do this, turn on the power supply and press the control button on the wall. The door should open and close smoothly and without any issues.

In conclusion, as per Garage Door Midlothian TX, wiring a garage door opener is a job that requires some basic electrical knowledge and the right tools. Make sure to follow the manufacturer’s instructions when installing and wiring the opener. If you’re unsure about any of the steps or encounter any issues, it’s best to consult a professional electrician or garage door technician.

Garage Door Experts of Midlothian

810 Alex Ln A, Midlothian, TX 76065, United States

972-703-4028

How to Grease Your Garage Door by Yourself – Princeton Garage Door Experts

I can share my experience of greasing my garage door by myself. It was a bit intimidating at first, but once I gathered all the necessary tools and equipment, it was a straightforward task.

Here are the steps that I followed based from Garage Door Princeton TX:

Step 1: Gather the necessary tools and equipment

I gathered all the necessary tools and equipment, including a ladder, a rag, a clean bucket, a silicone-based lubricant, and a garage door lubrication kit.

Step 2: Clean the garage door

I started by wiping down the garage door with a clean rag to remove any dirt, debris, or dust that may have accumulated on it. This step ensures that the lubricant sticks to the metal and doesn’t just slide off.

Step 3: Apply lubricant to the springs

I applied the lubricant to the springs using the lubrication kit. I made sure to apply the grease evenly to the springs, being careful not to apply too much.

Step 4: Apply lubricant to the hinges

Next, I applied the lubricant to the hinges on each side of the garage door, again using the lubrication kit to apply the grease evenly. I made sure to apply enough lubricant to the hinges, but not too much.

Step 5: Apply lubricant to the rollers

I then applied the lubricant to the rollers on each side of the garage door, using the lubrication kit to apply the grease evenly. I made sure to apply enough lubricant to the rollers, but not too much.

Step 6: Apply lubricant to the track

Finally, I applied the lubricant to the track using the lubrication kit, making sure to apply enough lubricant to the track, but not too much.

Step 7: Test the garage door

After greasing the garage door, I tested it by opening and closing it several times to ensure that everything was working correctly. The door moved smoothly and quietly.

Step 8: Clean up

I cleaned up any excess lubricant that may have dripped onto the garage floor or any surrounding surfaces using the rag.

In conclusion, as per Garage Door Princeton TX, greasing my garage door was a simple task that I was able to do by myself. Following the steps carefully and using the right tools and equipment made the process straightforward. By greasing my garage door regularly, I can help keep it running smoothly and quietly for years to come.

Princeton Garage Door Experts

114 N 2nd St #5, Princeton, TX 75407, United States

469-281-7310

Page 1 of 9

Powered by WordPress & Theme by Anders Norén