Local Businesses Blog in Texas

Month: February 2023

How to Seal a Garage Door – BH Garage Door & Gate of Frisco

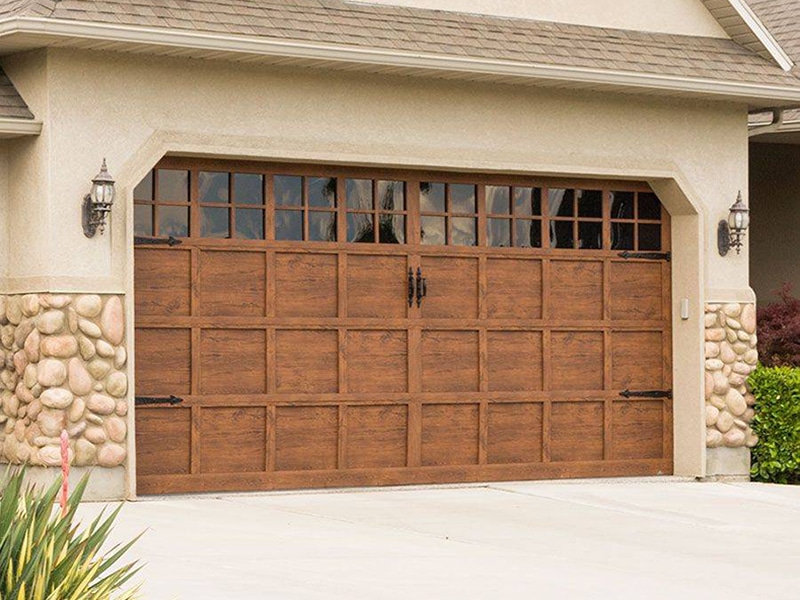
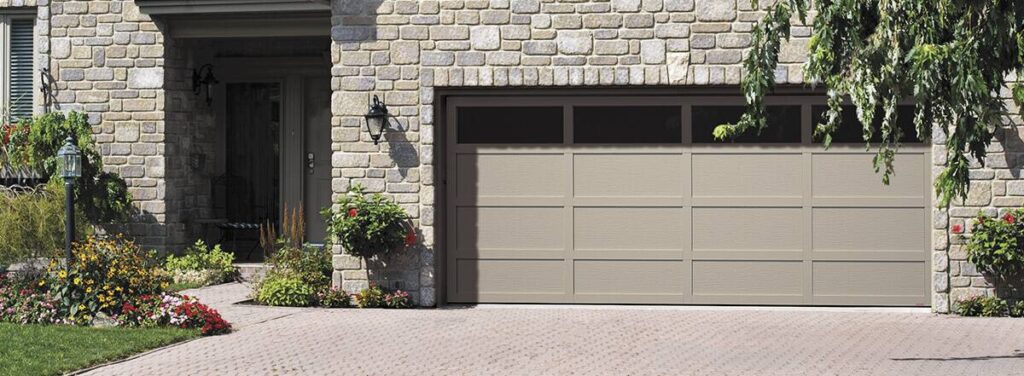
I have had trouble with my garage door for quite some time. It seemed that no matter what I did, cold air and moisture always found their way into my garage. This not only made my garage uncomfortable to be in, but it also resulted in higher energy bills as my heater struggled to keep up. After doing some research, I realized that the problem was likely due to the fact that my garage door was not sealed properly.

We will discuss the steps involved in sealing a garage door based from Garage Door Repair Frisco TX, which will help you protect your garage from these issues.

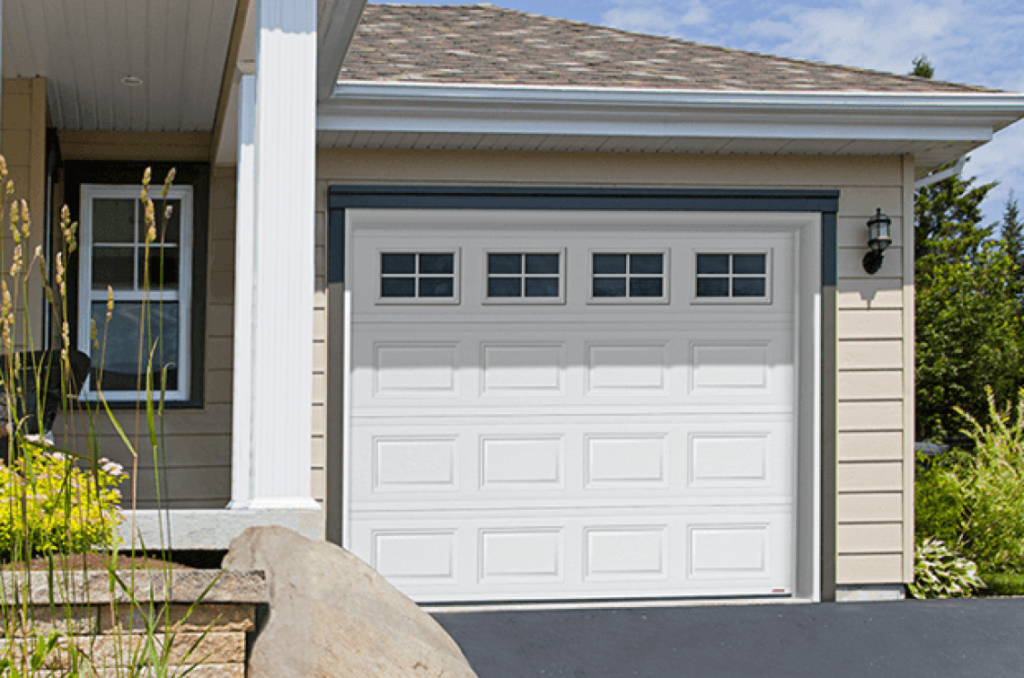
I started by examining the garage door for any gaps or cracks that might be allowing air or moisture to seep in. Sure enough, I found several problem areas that needed to be addressed. I also noticed that the weather-stripping and bottom seal were worn and needed to be replaced.

To begin the sealing process, I first cleaned the garage door thoroughly. I used a detergent and water to wash the door, paying special attention to the areas that needed to be sealed. I then allowed the door to dry completely before proceeding to the next step.

Next, I installed new weatherstripping around the edges of the garage door. This helped to close the gaps and spaces that were allowing air and moisture to enter. I also replaced the bottom seal, which helped to prevent drafts and moisture from entering the garage from underneath the door.

After sealing the edges and bottom of the garage door, I realized that there were still gaps between the panels that needed to be addressed. I used a sealant to fill in these gaps, making sure that it was spread evenly.

Finally, I checked for any additional gaps or spaces that might be allowing air or moisture to enter the garage. I found a few gaps around the windows and doors leading into the garage, which I sealed using weatherstripping and sealant.

Once I had finished sealing the garage door, I closed it and inspected it from the outside for any gaps or spaces. To my relief, I didn’t see any. I also tested the seal by shining a flashlight around the edges of the door to see if any light was seeping through. Again, there were no signs of any gaps or spaces.

Overall, as stated in Garage Door Repair Frisco TX, sealing my garage door was a relatively easy and straightforward process. It has made a huge difference in the comfort level of my garage and has also helped to reduce my energy bills. I’m glad that I took the time to address this issue, and I would recommend it to anyone who is experiencing similar problems with their garage door.

BH Garage Door & Gate of Frisco

4350 Main St Suite 160, Frisco, TX 75034

972-366-4079

How to Insulate a Garage Door – Plano East Garage Door

When I first started using my garage as a workspace, I quickly realized that it was not very well insulated. It was freezing in the winter and unbearably hot in the summer, making it difficult to work in. I knew I needed to find a way to insulate my garage door to make it more comfortable.

In this guide that I got from Garage Door Repair Plano TX, I’ll share my experience and knowledge on how to insulate a garage door.

First, I had to determine the type of garage door I had. My garage door was made of metal, which is the most common type of garage door. Next, I had to choose the right insulation material. After doing some research, I decided to go with foam board insulation because it was easy to install and provided good insulation value.

Before I could begin the insulation process, I needed to prepare the garage door. I used a simple solution of water and mild detergent to clean the door and remove any dirt or debris that was stuck to the surface. Once the door was clean, I allowed it to dry completely before starting the insulation process.

To install the foam board insulation, I measured the dimensions of each panel on the garage door and cut the insulation to size. I used a utility knife to cut the insulation. Once I had the insulation cut to size, I placed it in each panel and secured it in place with tape. I found that duct tape worked well for this purpose, but any strong tape will do. I made sure to cover the entire panel with insulation, including any edges or corners.

If you want to add an extra layer of insulation, you can also install reflective insulation. This type of insulation is made of a layer of aluminum foil and bubble wrap and reflects heat back into the garage. To install reflective insulation, I measured the dimensions of each panel and cut the insulation to size. I then used double-sided tape or adhesive to attach the insulation to the garage door.

If you have a wooden garage door, you can still insulate it, but the process is a bit different. You’ll need to use a different type of insulation, such as fiberglass or cellulose, and attach it to the back of the door with adhesive. Be sure to cover the entire door with insulation, including any cracks or gaps in the wood.

In addition to insulating the garage door, there are other steps you can take to improve the insulation of your garage. For example, you can insulate the walls and ceiling of the garage with fiberglass or foam insulation. You can also seal any gaps or cracks in the garage to prevent drafts.

In conclusion, in reference to Garage Door Repair Plano TX, insulating your garage door is an important step in making your garage more comfortable and energy-efficient. With the right insulation materials and a bit of effort, you can easily insulate your garage door and enjoy a more comfortable workspace.

Plano East Garage Door

1201 E Plano Pkwy B, Plano, TX 75074, United States

972-640-7299

How to Seal Garage Door Gaps – MF Solutions

I recently had to deal with gaps in my garage door, and it was a frustrating experience. Drafts and pests were getting in, and it was affecting the temperature and air quality in my garage. So, I did some research and found out how to seal the gaps in my garage door.

Here is my personal guide from Garage Door Repair on how to seal garage door gaps:

The first step I took was to identify where the gaps were located. I found gaps on the sides and bottom of the garage door. Once I knew where the gaps were, I made sure to clean the area thoroughly to ensure that the sealant would adhere properly.

The next step was to measure and cut the weatherstripping to the appropriate length. I used foam weatherstripping, which I found was effective at sealing the gaps in my garage door. I applied the weatherstripping carefully to the gaps, pressing it firmly into place to create a tight seal.

In addition to sealing the gaps on the sides of the garage door, I also installed a threshold seal at the bottom. This was especially effective at preventing drafts and pests from getting in. The threshold seal was a long strip of rubber that I attached to the bottom of the garage door. It created a barrier that helped to seal the gap between the garage door and the ground.

After sealing the identified gaps, I checked for any additional gaps that may have been present. I found some gaps around the windows, so I repeated the above steps to seal them.

Overall, sealing the gaps in my garage door based from Garage Door Repair was a relatively easy and inexpensive DIY project that I was able to complete in just a few hours. It made a significant difference in the comfort and security of my home, and I no longer have to worry about drafts or pests getting into my garage. If you’re dealing with gaps in your garage door, I would definitely recommend taking the time to seal them properly. It’s a small but effective way to improve the quality of your home.

MF Solutions

9118 Elmwood Dr, Niles, IL 60714, United States

224-434-1780

How to Align Garage Door Sensors – Affordable Garage Door Repairs of Indianapolis, LLC

Garage door sensors are an essential safety feature that prevent the garage door from closing on objects or people. The sensors are typically located near the bottom of the garage door tracks and send an invisible beam across the opening. If anything interrupts the beam while the door is closing, the door will stop and reverse.

I learned a lot through the process. Here’s what I did based from Garage Door Repair Indianapolis:

The first thing I did was to check the sensors to make sure they were clean and free of debris. I noticed that there were some cobwebs and dirt on the sensors, so I used a soft cloth and a brush to clean them up.

After checking the sensors, I looked at the wiring to make sure that the wires connecting the sensors to the opener were not damaged or disconnected. I didn’t see any frayed wires or loose connections, so I moved on to adjusting the sensors.

The sensors are mounted on the garage door tracks, facing each other. To adjust them, I loosened the screws that held them in place and moved them up or down until they were aimed at each other.

Once I adjusted the sensors, I used a level to check that they were perfectly aligned. I placed the level on top of one sensor and adjusted the other sensor until it was level as well. It was important to ensure that the sensors were perfectly parallel to each other.

After checking the alignment, I tightened the screws to hold the sensors in place. I made sure not to over-tighten the screws, as this can cause the sensors to become misaligned again.

Finally, I tested the garage door by using the opener to close the door. The door closed without stopping or reversing, which meant that the sensors were properly aligned.

In conclusion, according to Garage Door Repair Indianapolis, aligning garage door sensors was not as difficult as I thought it would be. It was a relatively simple process that required a few tools and some patience. Regularly checking and cleaning the sensors can prevent misalignment and ensure that the garage door operates safely and efficiently. If you’re having trouble aligning your sensors, don’t hesitate to call a professional for assistance. They can help diagnose and fix any issues with the sensors or the opener.

Affordable Garage Door Repairs of Indianapolis, LLC

Indianapolis

317-372-5337

How to Program a Genie Garage Door Opener- South Arlington Overhead & Garage Door

Please note that the specific steps may vary depending on the model of your Genie opener, so it’s always best to refer to the owner’s manual for specific instructions.

Here are the steps I would take to program my Genie garage door opener based from South Arlington Garage Door Repair.

Step 1: Clear the memory

I would locate the “learn” or “program” button on my Genie garage door opener and press and hold it until the LED light on the opener flashes, indicating that the memory has been cleared.

Step 2: Prepare the remote

Next, I would prepare my remote by finding the “learn” or “program” button on it and pressing and holding it until the LED light on the remote turns on.

Step 3: Program the remote

Then, I would hold the remote close to the garage door opener and press the button that I want to program. The LED light on the garage door opener should flash, indicating that it has received the signal from the remote. I would repeat this process a few times to ensure that the code is transmitted successfully.

Step 4: Test the remote

After programming the remote, I would test it by pressing the button to see if the garage door opens or closes. If it doesn’t work, I would repeat the programming process.

Step 5: Repeat for additional remotes

If I have multiple remotes that I want to program, I would repeat the process for each one. I may need to hold down the “learn” button on the garage door opener again to clear the memory between programming each remote.

Step 6: Set up keypad entry (optional)

If I have a keypad entry system, I could program it by pressing the “learn” button on the garage door opener and then entering the code on the keypad. I may need to repeat this process a few times to ensure that the code is transmitted successfully.

Step 7: Final testing

After programming all the remotes and keypad entry (if applicable), I would test them all to ensure they work correctly. If there are any issues, I would check the owner’s manual for troubleshooting tips.

In conclusion, programming a Genie garage door opener is a relatively simple process that involves clearing the memory, preparing the remote, programming it, and testing it. By following these steps from South Arlington Garage Door Repair, I can ensure that my Genie garage door opener works smoothly and reliably. If I have any difficulties, I can consult the owner’s manual or contact a professional for assistance

South Arlington Overhead & Garage Door

3330 Matlock Rd #204, Arlington, TX 76015, United States

817-383-2173

How to Change Garage Door Code – Garage Door Experts of North Arlington

Here’s a comprehensive guide from Garage Door Repair North Arlington TX on how to change the code for your garage door opener:

  1. Locate the Learn button: My first step is to locate the “Learn” button on my garage door opener. This button is usually located on the back of the unit, but its location may vary depending on the make and model of my opener.
  2. Disconnect the power: Before I start the programming process, I’ll make sure to disconnect the power to my garage door opener by either unplugging it or turning off the circuit breaker.
  3. Press and release the Learn button: After disconnecting the power, I’ll press and release the Learn button. The LED light on my opener should start flashing, which tells me that it’s in programming mode.
  4. Enter the new code: I’ll use my remote control to enter the new code by pressing and releasing the button on the remote. I need to do this within 30 seconds of pressing the Learn button. If my new code is accepted, the LED light on the opener will stop flashing and stay on for a few seconds before turning off.
  5. Repeat the process for additional remotes: If I have more than one remote that I want to use with my garage door opener, I’ll repeat the process for each remote, making sure to press the Learn button in between each code change.
  6. Restore power: After programming all the new codes, I’ll restore power to my garage door opener by either plugging it back in or turning the circuit breaker back on.
  7. Test the new code: To ensure that the new code has been successfully programmed, I’ll test it by using my remote to operate the garage door. I’ll press the button for the new code and see if the door opens and closes.

If I run into any issues while programming the new code or if the LED light doesn’t start flashing after I press the Learn button, I’ll check the owner’s manual for my garage door opener or reach out to the manufacturer for assistance.

By following these steps from Garage Door Repair North Arlington TX, I can change the code for my garage door opener with ease and increase the security of my home. Regularly changing the code helps prevent unauthorized access.

Garage Door Experts of North Arlington

711 Trinity Cir, Arlington, TX 76006, United

817-383-2114

Page 2 of 2

Powered by WordPress & Theme by Anders Norén