Local Businesses Blog in Texas

Tag: garage door repair Mesa AZ

How Much Should An Insulated Garage Door Cost – JT’s Overhead Doors


Garage Door Repair Mesa AZ  Additionally, prices may vary based on geographic location, market conditions, and the reputation of the manufacturer or installer.

Here’s a detailed breakdown of factors influencing the cost of an insulated garage door and an estimate of typical prices:

1. Type of Door:

  • Insulated garage doors are available in various types, including sectional, roll-up, sliding, and side-hinged doors. Sectional doors are the most common type and offer excellent insulation properties.
  • The type of door you choose can impact the overall cost, with sectional doors typically being more affordable compared to specialty doors like roll-up or sliding doors.

2. Material:

  • Insulated garage doors are commonly made from materials such as steel, aluminum, wood, fiberglass, and vinyl. Each material has its advantages, price points, and insulation properties.
  • Steel doors are the most popular choice for insulated garage doors due to their durability, affordability, and excellent insulation properties.

3. Size and Style:

  • The size and style of the garage door influence the cost. Standard single-car doors are less expensive than double-car or custom-sized doors.
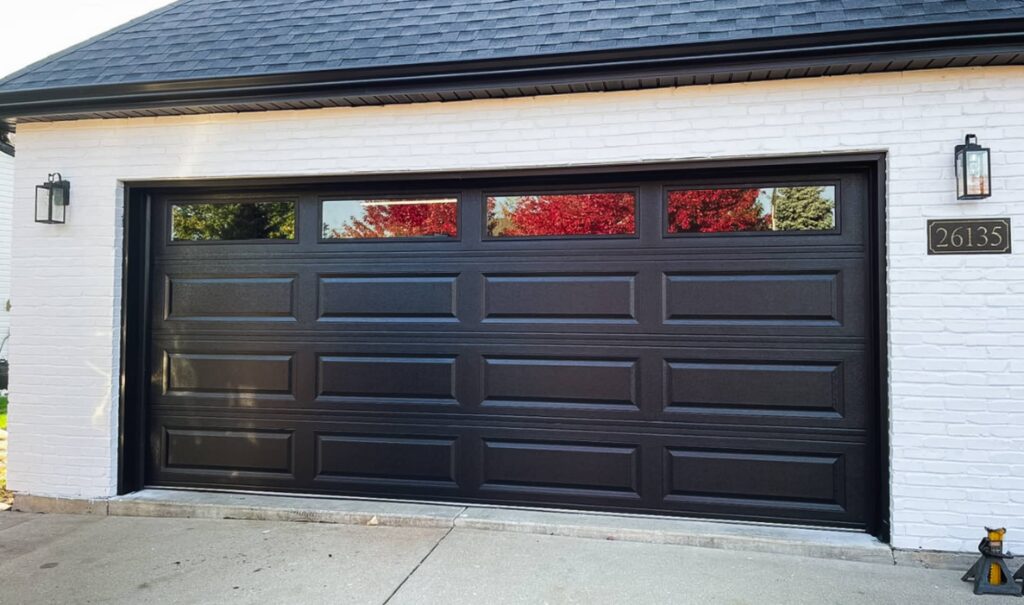
  • Style elements such as windows, decorative panels, and hardware can also affect the price of the door.

4. Insulation Type and R-Value:

  • Insulation options for garage doors include polystyrene or polyurethane foam insulation. Polyurethane foam insulation typically provides higher R-values and better thermal performance compared to polystyrene foam.
  • The R-value measures the insulation’s effectiveness, with higher R-values indicating better thermal resistance. Garage door manufacturers often provide R-value ratings for their insulated doors, which can help you compare products and determine their insulation performance.

5. Additional Features and Accessories:

  • Insulated garage doors may come with various features and accessories that can affect the overall cost. Common features include windows, decorative hardware, remote control openers, keypads, and smart home integration.
  • Advanced features such as battery backup, Wi-Fi connectivity, and advanced security options may be available on higher-end models and can increase the cost.

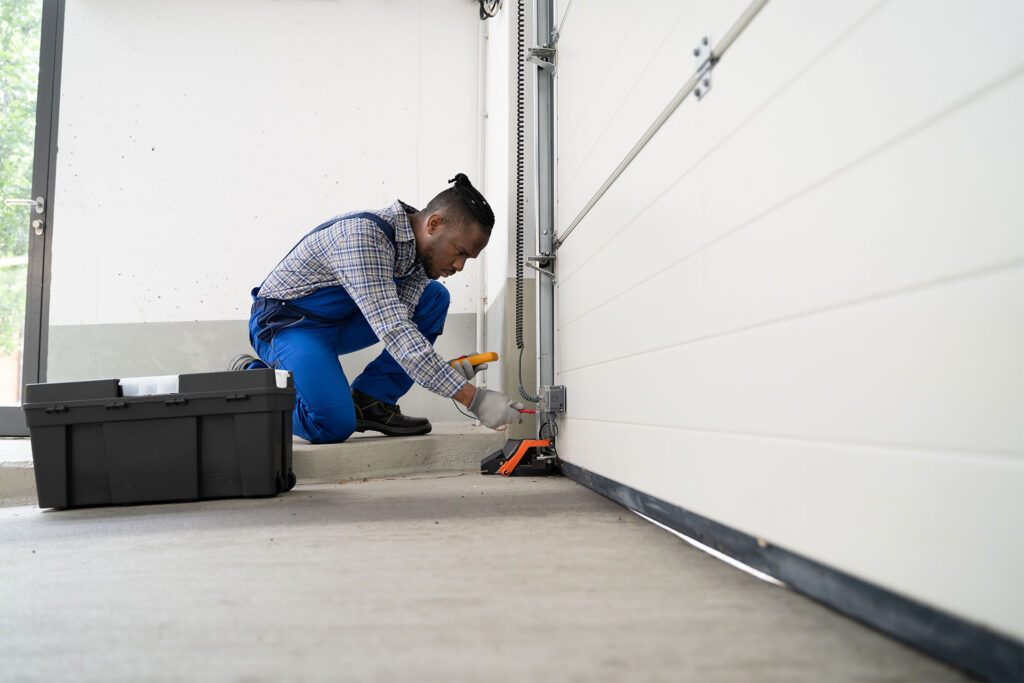
6. Installation Costs:

  • In addition to the cost of the garage door itself, you’ll need to budget for installation fees. Professional installation ensures proper fit, alignment, and operation of the door for optimal insulation performance.
  • Installation costs vary depending on factors such as location, the complexity of the installation, and labor rates.

Estimating Costs:

  • On average, the cost of an insulated garage door can range from $800 to $5000 or more, depending on the factors mentioned above.
  • Basic single-car insulated garage doors without custom features typically start at around $800 to $1500 installed.
  • Larger double-car or custom-sized insulated doors, doors made from premium materials like wood or fiberglass, and doors with higher R-values and advanced features can cost $1500 to $5000 or more.
  • Installation fees can vary but may range from $100 to $300 or more, depending on the complexity of the installation and labor rates in your area.

Conclusion:

  • Investing in a high-quality insulated Garage Door Repair Mesa AZ  and professional installation can enhance energy efficiency, comfort, and durability while providing long-term value and satisfaction.

JT’s Overhead Doors

307 N Sandal, Mesa, AZ 85205, United States

1-480-662-3315

https://maps.app.goo.gl/e13VmazcGLF3d8aM8

How To Program A Clicker Keypad Garage Door Opener – JT’s Overhead Doors

Garage Door Repair Mesa AZ Here’s a detailed guide on how to program a Clicker keypad garage door opener:

1. Locate the Learn Button on the Garage Door Opener:

  • Before programming the Clicker keypad, locate the “Learn” or “Program” button on your garage door opener. The button is typically located on the motor unit or control panel of the opener. It may be labeled as “Learn,” “Program,” or feature an icon resembling a padlock or gear.

2. Clear Previous Programming (if necessary):

  • If the Clicker keypad has been previously programmed or if you’re setting it up for the first time, it’s essential to clear any existing programming. To do this, press and hold the “Learn” or “Program” button on the garage door opener until the indicator light turns off or changes its behavior.

3. Choose a PIN Code:

  • Decide on a four-digit PIN code that you’ll use to operate the garage door opener. Choose a code that is easy for you to remember but difficult for others to guess. Avoid using sequential or repetitive numbers for security reasons.

4. Enter Programming Mode on the Keypad:

  • Press and hold the “Program” or “Learn” button on the Clicker keypad until the keypad lights up or blinks, indicating that it’s in programming mode. Release the button once the keypad is activated.

5. Enter the PIN Code:

  • Using the numeric keypad on the Clicker keypad, enter your chosen four-digit PIN code. Ensure that you press each button firmly and accurately. The keypad will typically beep or flash with each button press to confirm your input.

6. Press the “Program” Button on the Keypad:

  • After entering the PIN code, press the “Program” or “Enter” button on the Clicker keypad to confirm and save the code. The keypad lights may flash or change color briefly to indicate that the code has been successfully programmed.

7. Test the Keypad:

  • Test the programmed PIN code by entering it on the Clicker keypad and pressing the “Enter” or “Open/Close” button. The garage door should begin to move, indicating that the keypad is functioning correctly. If the door doesn’t respond, double-check the programming steps and ensure that the PIN code was entered correctly.

8. Mount the Keypad (if necessary):

  • Once the Clicker keypad is programmed and tested, mount it in a suitable location outside the garage, near the entry door. Use the provided mounting hardware and follow the manufacturer’s instructions for proper installation.

9. Additional Programming Options (if available):

  • Some Clicker keypads may offer additional programming options, such as setting temporary PIN codes for guests or adjusting the backlight settings. Refer to the keypad’s instruction manual for details on these advanced features.

10. Finalize Programming:

  • Once the Clicker keypad is programmed and installed, finalize the programming process by closing the keypad cover securely and ensuring that it’s protected from the elements.

11. Troubleshooting (if necessary):

  • If you encounter any issues during the programming process or if the keypad doesn’t function as expected, refer to the instruction manual for troubleshooting tips. Common issues may include incorrect PIN entry, low battery power, or interference from nearby electronic devices.

12. Maintenance and Security:

  • Periodically check and maintain the Clicker keypad to ensure proper operation. Change the PIN code periodically for security purposes and avoid sharing it with unauthorized individuals.

Conclusion:

Garage Door Repair Mesa AZ By following these steps and guidelines, you can successfully program your Clicker keypad and enjoy hassle-free operation of your garage door.

JT’s Overhead Doors

307 N Sandal, Mesa, AZ 85205, United States

1-480-662-3315

How To Reprogram Raynor Garage Door Opener – JT’s Overhead Doors

Garage Door Repair Mesa AZ may vary slightly depending on the model and type of opener you have.

However, here’s a general guide that should cover most Raynor garage door openers:

  1. Locate the Learn Button: Start by finding the “Learn” button on your Raynor garage door opener. This button is typically located on the motor unit, near the antenna wire. It may be labeled as “Learn,” “Program,” or have a similar designation.
  2. Clear Previous Programming (if needed): If you’re reprogramming the opener due to security concerns or if you’re experiencing issues, it’s recommended to clear out the existing programming. Press and hold the “Learn” button on the garage door opener until the indicator light blinks or turns off, indicating that the previous programming has been erased.
  3. Enter Programming Mode: Press the “Learn” button on the garage door opener once briefly. The indicator light on the opener should illuminate, indicating that it’s ready to receive programming signals.
  4. Choose a Remote: Decide which remote you want to program to the opener. If you have multiple remotes, you’ll need to program each one individually. If you’re programming a new remote, ensure it’s compatible with your Raynor garage door opener.
  5. Press the Remote Button: Press and release the button on the remote that you want to program to the opener. You should see the indicator light on the garage door opener flash or hear a confirmation beep, indicating that the programming was successful.
  6. Test the Remote: After programming the remote, it’s essential to test it to ensure it’s working correctly. Stand inside your garage and press the button on the remote to command the garage door opener to open or close the door. If the door responds as expected, the programming was successful.
  7. Repeat if Necessary: If you have multiple remotes or if you’re programming additional buttons on the same remote, repeat the above steps for each remote or button.
  8. Additional Programming Options: Some Raynor garage door openers offer advanced programming options, such as setting up temporary access codes for keypads or adjusting the opener’s settings. Consult the owner’s manual for your specific opener model to explore these options.
  9. Secure the Opener: Once you’ve finished programming all your remotes, securely close the cover of the garage door opener to protect it from dust and debris.
  10. Final Checks: Perform a final test of all programmed remotes to ensure they’re functioning correctly. If you encounter any issues, repeat the programming process or consult the owner’s manual for troubleshooting tips.
  11. Record Programming Information: It’s a good idea to record the programming information for future reference. Note down the model number of your Raynor garage door opener, the type of remote(s) you’ve programmed, and any other relevant details to assist with future troubleshooting or reprogramming.

Garage Door Repair Mesa AZ If you encounter any difficulties during the process, refer to the owner’s manual for your specific garage door opener or contact Raynor customer support for assistance. Regular maintenance and testing of your garage door opener will help ensure reliable operation over time.

JT’s Overhead Doors

307 N Sandal, Mesa, AZ 85205, United States

1-480-662-3315

How Do I Reset My Raynor Garage Door Opener – JT’s Overhead Doors


Resetting your Raynor Garage Door Repair Mesa AZ involves a systematic approach to ensure proper synchronization and security.

In this comprehensive guide, we’ll explore the steps to reset your Raynor garage door opener, covering key aspects of the process.

: Preliminary Checks

Before initiating the reset process, conduct preliminary checks. Ensure that the garage door is fully closed, and the area around it is clear of obstacles. Safety is paramount, and a clear path ensures a secure environment for the garage door reset.

: Identify the Garage Door Opener Model

Begin by identifying the model of your Raynor garage door opener. This information is typically found on the motor unit or in the user manual. Different models may have specific instructions for resetting and programming.

: Locate the “Learn” Button or Program Button

Most Raynor garage door openers have a “Learn” button or program button on the motor unit. This button is essential for programming and resetting. Locate the “Learn” or program button, which is typically on the back or side of the motor unit, and take note of its position.

: Clear Existing Codes

Press and hold the “Learn” or program button until the indicator light on the motor unit turns off. This action clears any existing codes stored in the garage door opener’s memory, providing a clean slate for the new code.

: Release and Await

Release the “Learn” or program button and await a moment. This brief interlude allows the garage door opener to reset its internal mechanisms. The indicator light on the motor unit may blink or stay steady, indicating readiness for the next phase.

: Enter a Temporary Code (if required)

Some Raynor keypads or remotes may require you to enter a temporary code during the reset process. Follow the specific instructions for your keypad or remote model to enter the temporary code. This code is a placeholder and will be replaced with your new code.

: Enter the New Code

With the keypad or remote in programming mode, enter a new code of your choice. The new code should be a combination of numbers that are easy for you to remember but not easily guessed by others.

: Test the New Code

After entering the new code, test it by pressing the “Enter” or “Send” button on the keypad or remote. The garage door should respond by either opening or closing. This test confirms that the keypad or remote has successfully learned the new code and is in sync with the Raynor garage door opener.

: Additional Keypad or Remote Users

If multiple users or family members use keypads or remotes, repeat the programming process for each user. This ensures that everyone has their unique access code for the garage door.

: Sensor and Safety Check

As part of the reset process, perform a safety check. Ensure that the safety sensors near the garage door are aligned and unobstructed. These sensors play a crucial role in preventing accidents and ensuring safe garage door operation.

: Documentation and Security

Document the new keypad or remote code in a secure place. It’s essential to have a record of the code for future reference. Additionally, consider changing the code periodically for enhanced security.

: Troubleshooting Touch

In the rare event of issues, consult the keypad or remote control manual for troubleshooting tips. Check the battery if the device is battery-powered, and ensure that the device is within the specified range of the Raynor garage door opener.

: Professional Assistance

If, after following the above steps, the keypad, remote control, or garage door opener continues to exhibit issues, it may be time to seek professional assistance. Certified technicians have the expertise to diagnose and address more complex problems.

In conclusion, this comprehensive guide serves as your roadmap to resetting your Raynor Garage Door Repair Mesa AZ. For model-specific nuances and additional insights, always refer to the keypad, remote, and garage door opener manuals—valuable resources for troubleshooting and maintenance. With these steps, you’ll navigate the reset process with confidence, ensuring secure and convenient access to your garage.

JT’s Overhead Doors

307 N Sandal, Mesa, AZ 85205, United States

1-480-662-3315

Powered by WordPress & Theme by Anders Norén