Securing your Garage Door Repair is a fundamental aspect of home safety and protection. A well-locked garage door not only safeguards your belongings but also contributes to the overall security of your home.
In this comprehensive guide, we’ll explore various methods to lock your garage door, covering different types of doors and effective security measures.
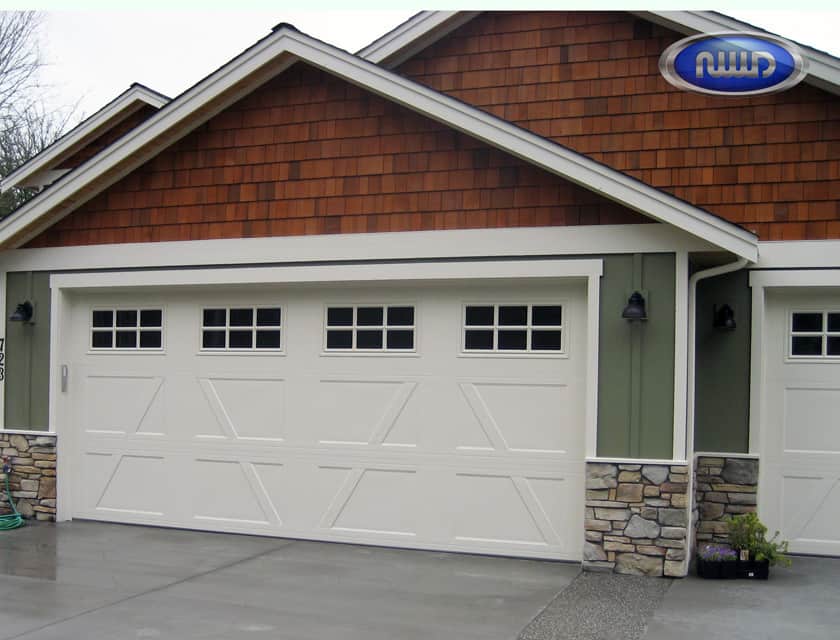
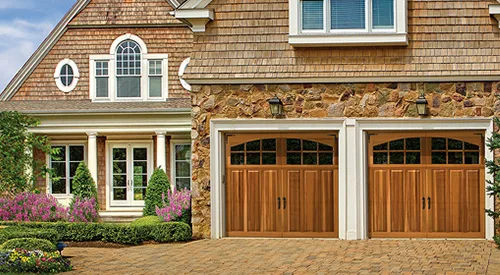
1. Identify Your Garage Door Type:
Garage doors come in various types, including sectional, roll-up, tilt-up, and side-hinged doors. Understanding the specific type of garage door you have is crucial for implementing the appropriate locking method.
2. Utilize Built-In Lock Features:
Many garage doors come with built-in lock features. Check the user manual or documentation that came with your garage door to identify if it has a lock function. Some doors have a manual locking mechanism, while others may have electronic or smart lock features.
3. Engage Manual Locks:
If your garage door has a manual locking mechanism, engage it to secure the door. Manual locks can include slide bolts, T-bar locks, handle locks, or cylinder locks. Follow the specific instructions provided for your garage door to properly engage the manual lock.
4. Install Additional Manual Locks:
Enhance the security of your garage door by installing additional manual locks. Common options include slide bolts, T-bar locks, and handle locks. Choose a lock type that is compatible with your door and provides an extra layer of protection.
5. Use Slide Bolts:
Slide bolts are horizontal bolts that can be manually engaged to secure the garage door. Install slide bolts on both sides of the door, positioning them to slide into brackets mounted on the door frame. Slide bolts provide a simple yet effective way to prevent the door from being opened.
6. Install a T-Bar Lock:
T-bar locks are designed to reinforce the garage door against forced entry. Install a T-bar lock on the inside of the door, engaging it to create a sturdy barrier. T-bar locks are particularly effective for preventing the door from being lifted.
7. Use Handle Locks:
Some garage doors come with handles that include built-in locking mechanisms. Engaging the lock on the handle secures the door. If your door doesn’t have a built-in handle lock, consider installing a handle with an integrated lock for added security.
8. Install Cylinder Locks:
Cylinder locks are installed on the inside of the garage door and require a key for engagement. When the lock is engaged, it prevents the door from being lifted or opened manually. Cylinder locks provide a high level of security and are suitable for various types of garage doors.
9. Consider Smart Locks:
Explore smart lock options for your garage door for added convenience and control. Smart locks can be controlled remotely using a smartphone app, allowing you to lock and unlock the garage door from anywhere. Ensure compatibility with your garage door system before installation.
10. Reinforce the Door Frame:
Strengthen the garage door frame to make it more resistant to forced entry. Reinforce weak points by using metal plates or angle irons. A sturdy frame enhances the effectiveness of manual locks and prevents the door from being easily breached.
11. Use Padlocks and Hasps:
For tilt-up or swing-out doors, consider installing hasps and padlocks. A hasp is a metal plate that attaches to the door, and a padlock is used to lock the hasp in place. This type of lock provides additional security for doors that swing out or tilt up.
12. Regularly Inspect and Maintain Locks:
Perform regular inspections of your garage door locks to ensure they are in good working condition. Lubricate moving parts and address any wear or damage promptly. Regular maintenance contributes to the longevity and effectiveness of the locks.
13. Optimize Lighting:
Ensure that the area around your garage door is well-lit. Adequate lighting discourages potential intruders and enhances overall security. Install motion-activated lights to illuminate the garage door area when someone approaches.
14. Educate Household Members:
Ensure that all members of your household are familiar with the proper procedures for locking the garage door. Educate them on the use of any built-in lock features, additional manual locks, and the importance of maintaining security.
15. Utilize Security Cameras:
Enhance overall security by installing security cameras in and around your garage. Cameras act as a deterrent and provide surveillance footage that can be crucial in case of unauthorized access. Ensure that the camera covers the garage door area.
16. Regularly Update Security Measures:
Stay informed about new security measures and technologies that can enhance the safety of your garage door. Consider upgrading to more advanced locking mechanisms or incorporating smart home security features for added convenience and control.
Conclusion:
Locking your Garage Door Repair is a crucial step in securing your home. Whether using built-in lock features, installing additional manual locks, or exploring smart lock options, the goal is to create a robust barrier against unauthorized access. By implementing these security measures, you can ensure that your garage and home remain well-protected.
NTHE Window Replacement Euless
3752 Trinity Hills Ln, Euless, TX 76040, United States
1-817-402-3539