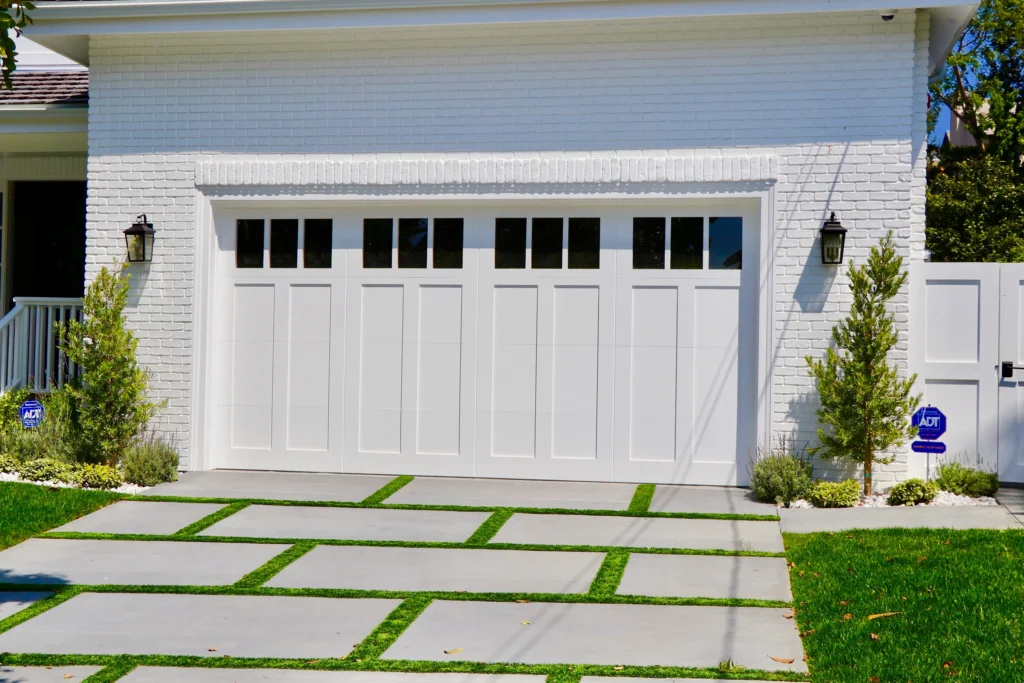
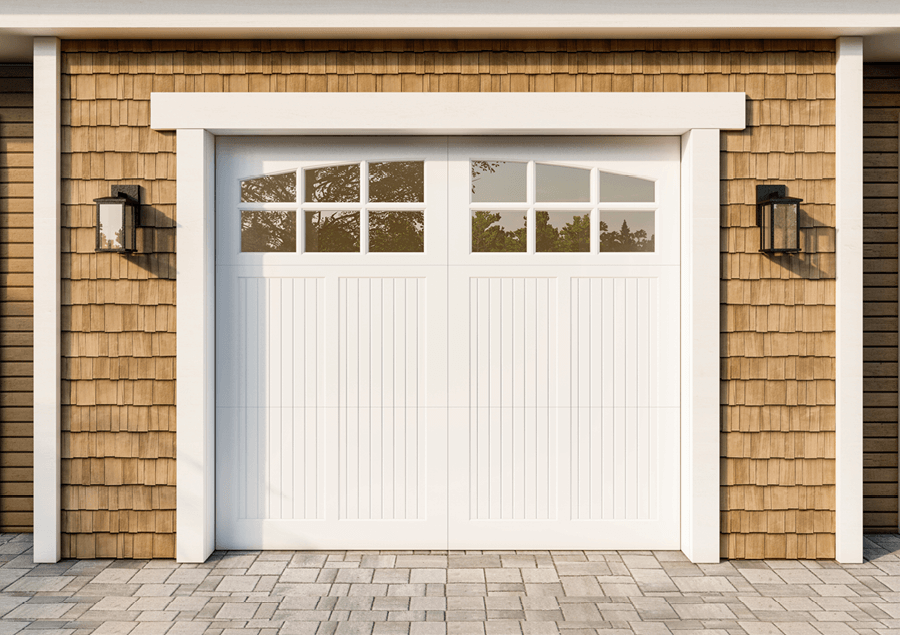
Restoring your Garage Door Repair Corinth TX operation involves a series of troubleshooting steps to identify and resolve potential issues.
This comprehensive guide will walk you through the process, covering common reasons why a garage door might not be working automatically and providing step-by-step solutions.
1. Check Power Supply:
Begin by ensuring that the garage door opener is receiving power. Check if there’s a power outage in your area, and if not, inspect the power source to the opener. If the opener is plugged in, verify that the outlet is functional. If the outlet is working but the opener still has no power, check for a tripped circuit breaker or a blown fuse.
2. Inspect the Remote Control:
If the opener has power but isn’t responding to the remote control, inspect the remote’s batteries. Replace them with fresh ones and try again. Ensure that there are no obstructions between the remote control and the opener, as interference can affect the signal.
3. Verify the Photoelectric Sensors:
Most automatic garage doors have photoelectric sensors near the floor on either side of the door. These sensors ensure that the door doesn’t close on objects or people. Check if there are any obstructions blocking the sensor’s path, clean the sensor lenses, and ensure they are properly aligned. A misalignment can prevent the door from closing automatically.
4. Check the Wall Switch:
If the wall switch isn’t working, it could be a simple wiring issue. Inspect the wiring connected to the switch for any signs of damage. If the wiring is intact, try replacing the wall switch itself.
5. Examine the Door Tracks:
Automatic garage doors rely on smooth, unobstructed tracks. Inspect the tracks for any debris, dirt, or obstacles that might be impeding the door’s movement. Clean the tracks thoroughly and ensure they are properly aligned.
6. Lubricate Moving Parts:
Over time, the moving parts of a garage door system can accumulate dirt and debris, leading to friction. Lubricate the rollers, tracks, and hinges with a garage door lubricant to ensure smooth operation. Avoid using WD-40, as it can attract more dirt over time.
7. Test the Door Balance:
An unbalanced garage door can strain the opener and affect its automatic operation. Disconnect the opener from the door by pulling the release handle (usually a red cord). Manually open and close the door. If it doesn’t move smoothly, the door might be unbalanced, and you may need professional assistance to adjust the springs.
8. Adjust the Travel and Force Settings:
Most garage door openers have adjustment settings for travel and force. These settings control how far the door travels and how much force the opener applies when closing. Consult your opener’s manual to locate these settings and adjust them if necessary. Incorrect settings can cause the door to stop prematurely or exert too much force.
9. Check for Obstructions:
Automatic garage doors are equipped with safety features to detect obstructions. Inspect the area around the door for any objects that might be triggering these safety mechanisms. Clear the area and test the door again.
10. Inspect the Gear and Sprocket Assembly:
For chain-driven garage door openers, inspect the gear and sprocket assembly for any signs of wear or damage. If you notice issues, such as grinding noises or the door not moving smoothly, it may be necessary to replace these components.
11. Seek Professional Assistance:
If you’ve gone through the troubleshooting steps and your garage door still isn’t functioning automatically, it may be time to seek professional help. A certified garage door technician can diagnose and address more complex issues, such as motor or circuit board problems.
In conclusion, restoring your Garage Door Repair Corinth TX operation involves a systematic approach to troubleshooting. By checking the power supply, inspecting the remote control, verifying the photoelectric sensors, examining the door tracks, lubricating moving parts, testing the door balance, adjusting settings, checking for obstructions, inspecting the gear and sprocket assembly, and seeking professional assistance if needed, you can identify and resolve issues that may be preventing your garage door from operating automatically.
Corinth Gates & Garage Doors
940-461-6990